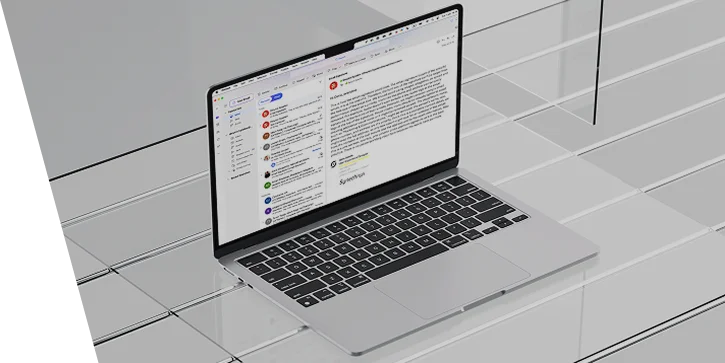
Step-by-step instructions on how to set up an email signature
- Open Outlook.
- On the View tab, select View Settings.
- Select Accounts > Signatures.
- Select New signature, then give it a distinct name.
- In the editing box below the new name, paste the generated signature.
- Select Save when you're done.
-
With your new signature selected from the list above the
editing box, go to Select default
signatures and choose whether to apply the signature to new messages and to replies and forwards. - Select Save again.
- Open Outlook.
- On the Draft tab, select Signatures.
- Select Manage Signatures.
- Select the + sign, then give it distinct name.
- In the editing box below the new name, paste the generated signature.
- Select Save when you're done.
Here are step-by-step instructions to set up an HTML email signature in Microsoft Outlook for Mac
-
Copy the Signature
• Select and copy the entire email signature Cmd + C .
-
Open Apple Mail
• Launch the Mail application on your Mac.
-
Open Settings
• In the top menu bar, click Mail > Settings (or Preferences on older macOS versions).
-
Go to the Signatures Tab
• Click on the Signatures tab in the Settings window.
-
Select Your Mail Account
- ⚠️
-
In the left column, select the Exchange account where you want to use the signature.
Do not select “All Signatures” — make sure to click directly on the Exchange account.
-
Create a New Signature
•Click the plus (+) button at the bottom to create a new signature.
•Give your signature a name (e.g., “Work Signature 1”).
-
Disable Default Font Option
- ⚠️
-
Make sure to uncheck the box “Always match my default message font.”
This step is important to preserve the formatting and styles of the custom signature.
-
Paste the Signature
•In the right-hand editor pane, remove any default text and paste your copied signature (use Cmd + V ).
-
Choose Signature
•If you want this to be your default signature, select it under “Choose Signature” for the selected account.
-
Close the Settings window and test the signature
• Simply close the Settings window — your changes will be saved automatically.
• Compose a new email to verify that the signature appears correctly.
Step-by-step instructions on how to set up a booking page and get its link
-
Sign in to Microsoft Bookings
• Go to https://outlook.office.com/bookings and sign in with your Microsoft 365 account.
-
Create a new booking page
• Click "get started" or "create meeting type".
• Make sure to choose "personal booking page" and not "shared booking page".
-
Set up your booking page
• Fill in all the details.
• Select the available time slots, such as 15 or 30 minutes.
• In advanced settings, specify the exact days and times you're available for calls.
-
Save your booking page
• Click "save" at the top of the page once you’re done.
-
Share your booking page
• On your bookings page, click the "share" icon and then copy the link.
-
Paste the link into your email signature
•Below your email signature section, click "add 'book time to meet with me'" link.
•Paste your booking page URL into the text input.
•Click ‘save’.
Need help?
Drop a message to Dmytro Kyselov at
dmytro.kyselov@synechron.com. Thank you!
